First project
Project
Before addressing individual MidiInOut parts, you should first understand what a project is. A project is a collection of MidiInOut parts that can:
- be collectively persisted to disk (save)
- be collectively restored from disk (load)
- talk to each other
So a project is your main work space in which you work with MidiInOut parts and connect them to each other. Multiple projects can be open at the same time, but an instance of a MidiInOut part can only belong to one project. I will take for granted that you know how saving and loading works, so no example here on saving and loading a project.
but first: specify which OS MIDI devices can be used
m.nlcode.nl can work with other MIDI capable applications and drivers that are known to the operating system of your computer. But you first need to specify which ones you want to be able to work with in your projects.
- Got to the main m.nlcode.nl application window.
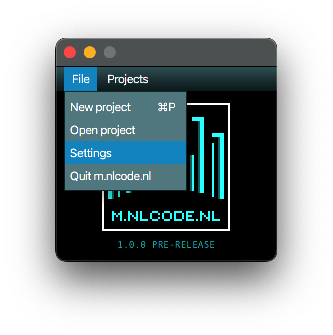
- Select File | Settings | system MIDI devices.
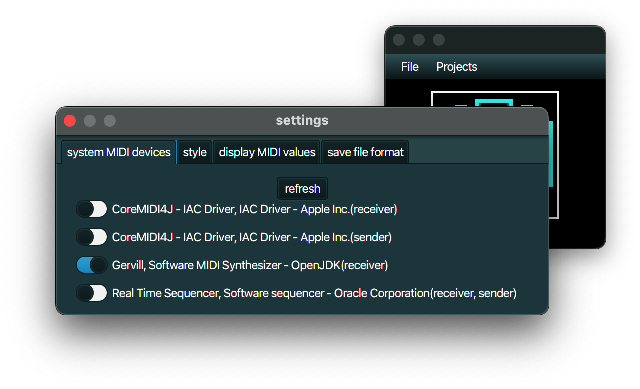
- Switch on all devices that you would like to be able to use.
- For this first project tutorial make sure you turn on Gervill, Software MIDI synthesizer - OpenJDK (receiver).
MidiInOut parts
MidiInOut parts are the building blocks for building a project that can monitor, change, filter and create MIDI data. That is basically it. A simple example will probably say more.
- Open a new project.
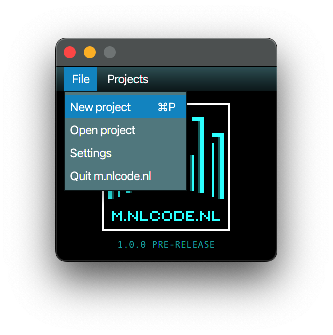
- Go to the main m.nlcode.nl application window.
- Select File | New project.
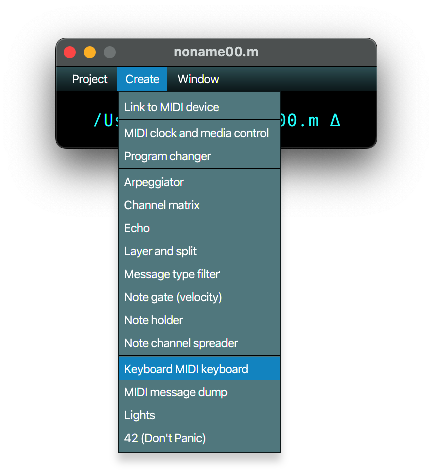
- Go to the newly created Project window, probably called noname00.m.
- Select Create | Link to MIDI device.
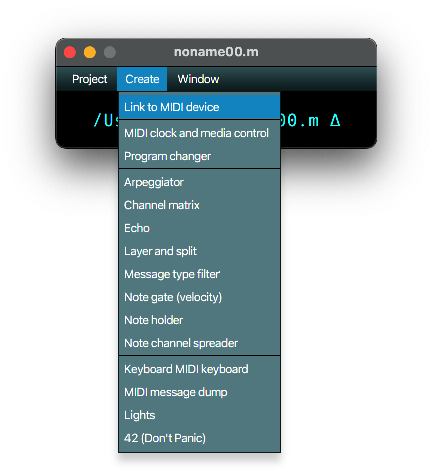
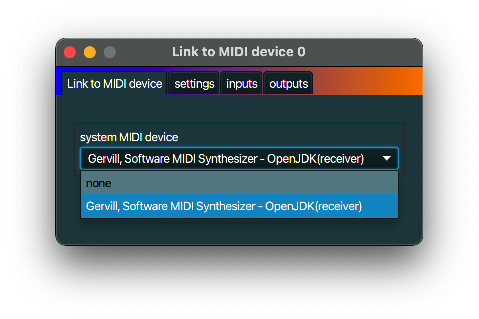
- Go to the newly created Link to MIDI device window, probably called Link to MIDI device 0.
- On the Link to MIDI device tab, select Gervill, Software MIDI synthesizer - OpenJDK (receiver).
- Go back to your Project window, probably called noname00.m.
- Select Create | Keyboard MIDI keyboard.
- Go to the newly created Keyboard MIDI keyboard window, probably called Keyboard MIDI keyboard 0.
- On the outputs tab, select Link to MIDI device 0.

- On the Keyboard MIDI keyboard tab, click on the D button: you should hear a sound!
If you hear no sound, check the volume. If the volume is ok but you do not hear any sound, then I am afraid you should troubleshoot further on your own. Note that a Keyboard MIDI keyboard is basically a simple test util and in no way a replacement for a proper MIDI keyboard.
Input and output
As you have seen in the above example, MidiInOut parts can be connected to send MIDI data to one another. Connections are two way in that senders obviously know to which parts they are sending, but the receiving parts also know their senders. Note that a MidiInOut part can have multiple senders as well as multiple receivers. Use the shift or control keys while clicking to select and deselect (multiple) MidiInOut names.
Example: expanding on the same example as above, do the following.
- Create a MIDI Lights MidiInOut part.
- In its inputs tab, select Keyboard MIDI Keyboard 0.
- Click (with the mouse) on A, S, D or any of the other keys of the Keyboard MIDI keyboard buttons.
- Be amazed by the sound, as well as the dazzling display of visuals in the MIDI Lights part. /s
MIDI Lights is an example of a MidiInOut without any ‘out’. It is simply something that gives a visual representation of MIDI data, but does nothing to the data it receives, not even sending it on. That also means that it has no ‘output’ tab and it cannot be selected as an input for other MidiInOut parts. Keyboard Keyboard is kind of related, in that it can only send output and not receive input.
Other MidiInOut components
There is a number of other MidiInOut components. Now that you know the basics of creating them and linking them to each other, feel free to explore. The modularity of m.nlcode.nl combined with the simplistic interface should provide for a low barrier to entry.